How to Stop Letter Reversals in Handwriting
Affiliate and Referral links are used below to promote products I love and recommend. I receive a commission on any purchases made through these links. Please see my disclosure policy for more details. As an Amazon Associate, I earn from qualifying purchases.
Do you have a child who is struggling with letter reversals in handwriting? Many still associate letter reversals with dyslexia, but this is not the case. Letter reversals are common for many children. So let's take a look at some tips, tools, and strategies for how to stop letter reversals in handwriting.
Should I Be Concerned About Letter Reversals?
You might be feeling concerned that your child or an older student is dealing with letter reversals (and don't forget number reversals).
Letter reversals can be common in many children up until age 7, or 3rd grade. Occasional reversals past age 8 are common too.
The reason for this has been suggested to be poor working memory and also a lack of visual processing skills. This does not mean your child has a learning difficulty. It can mean that they lack the experience as a reader and writer to tell the difference between letters.
A common misconception is that letter reversals means your child could have dyslexia. It is not as simple as this since Dyslexia is much more complex than just letter reversals.
If your child is entering the 3rd grade and still has issues with letter reversals, you will want to consider some additional evaluations to see if your child could be struggling with a learning difficulty.
Common letter reversals include “d” and b”, “p” and “q”, “w” and “m”, and “n” and “u”.
If you have a younger child, it doesn't mean you should wait till 3rd grade to address any letter or number reversals. This can lead to bad habits forming with handwriting which can cause issues later on.
So let's look at some ways you can help support good habits with handwriting and address letter reversals.
Ways to Help Stop Letter Reversals in Handwriting
Since I am an Occupational Therapy Assistant, I am coming at this purely from a handwriting perspective. Reading is not my specialty, although reading and writing are closely connected. So we will be looking at a lot of different visual processing ways to address letter reversals.
1 || TEACH LETTERS IN GROUPS
Many of us would think that starting with “A” would be the best place to start, but teaching letters in groups are often the best way to address many handwriting and reading concerns.
If you look at it from the development of pre-writing lines, starting with letters that have horizontal, vertical, and circle shapes should come first. Letters with diagonal lines should be last since this is the developmental progression of pre-writing lines.
Some common groupings include c, d, g, o, q and t, l, f, h, and b. You will notice that “d” and “b” (the most common reversal) are not in the same grouping here. This will give your child time to master one before adding in another variation of that letter.
For more information on how to introduce letters in groups, I suggest checking out my friend Jaime's How to Teach Letter Formations in Groups.
BONUS TIP!
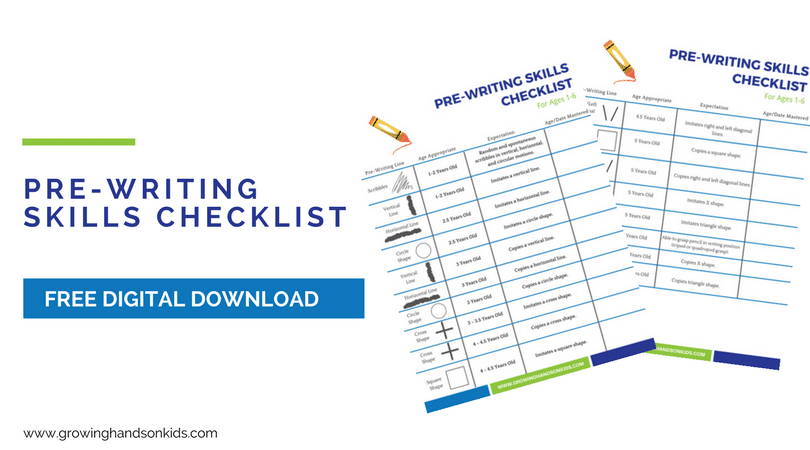
This is also a good time to assess if your child has mastered all their pre-writing lines. Not mastering pre-writing lines will affect their letter formations and other handwriting difficulties. I have a pre-writing lines checklist here which is a great place to start.
2 || USE DIFFERENT COLORS
Visual cues and prompts are often helpful for those struggling with letter reversals. For each letter line and stroke, change up the color so your student can see the difference in the strokes.
3 || TACTILE WRITING
Any handwriting practice should include more than just a pencil and paper. Using tactile writing methods such as sandpaper letters, sand writing, or the Handwriting Without Tears Wet, Dry, Try approach are great options.
I also like the Muscle Mover Cards from Fundanoodle and I Can Build Letter magnets. Both of these provide sensory input with multiple sensory systems. I also like that the I Can Build Letter magnets won't move around once you place them on the magnetic surface (something that can be frustrating for young learners if you just use wood sticks to build letters).
4|| AIR WRITING
Using the whole body, or at least the top half of the body to air write is also a great option. This allows the child to feel the difference in the letter formations through movement, not just visually. It may be helpful to have some large poster boards of letters hanging up so they can still get that visual input while they air trace.
Both tactile writing and air writing use multi-sensory approaches which can be beneficial to increasing working memory. Plus, it's a lot more fun! 🙂
5 || VISUAL PERCEPTUAL ACTIVITIES
Visual perceptual activities such as figure-ground concepts, visual discrimination and direction discrimination, and many others can be beneficial in improving your child's visual perceptual skills which affect their working memory and visual memory with handwriting skills.
Some activities could include connect-the-dot pages, directional games including top, middle, bottom, left, and right, sorting activities, I-Spy games, and completing puzzles are all great ways to work on visual perceptual skills.
6 || INTRODUCE CURSIVE
If you have a student who is really struggling with print and letter reversals, it may be a good time to see if cursive handwriting could help. Cursive handwriting can be easier for some children since the letters are written in one fluid motion, with each letter having its own specific formation.
You can read more about introducing cursive handwriting HERE.
What are some tips, tools, or strategies you have used with letter reversals? I'd love to hear about them below in the comments.
If you need more tips, tools, and strategies for handwriting concerns, I highly recommend The Handwriting Book by the Functional Skills for Team Pediatric Therapist team. Written by 10 pediatric Occupational and Physical Therapists (including one OT Assistant, me! 🙂 ), The Handwriting Book is filled with tons of handwriting helping from size and alignment to kids who just don't want to write. It also discusses the skills needed to handwriting and how to best support those skills with your child.
Need more resources for handwriting? Check out my resources below.
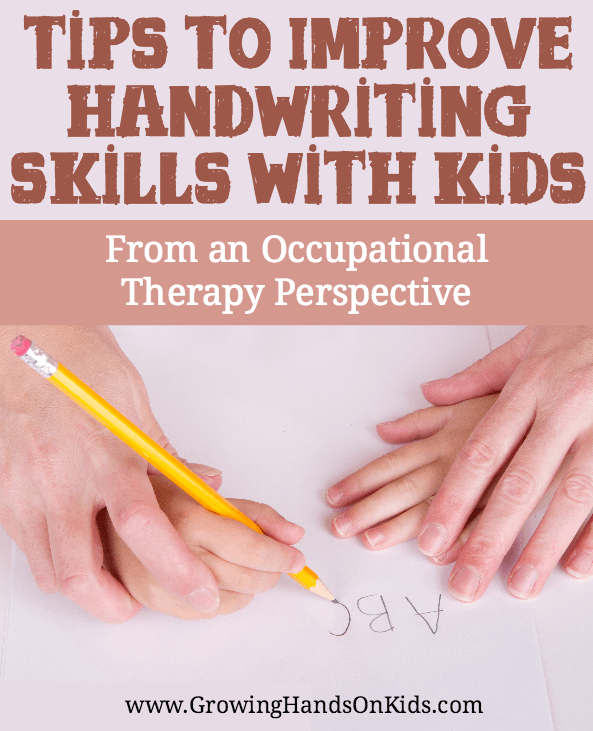
- How to Improve Handwriting Skills with Kids
- Left-Handed Resources for Handwriting
- 10 Hands-On Ways to Practice Pre-Writing Lines
- DIY Handwriting Toolkit
References for this post:
Letter Reversals and What It Means in Children – Thought.co
FAQs About Reserving Letters, Writing Letter Backwards, and Dyslexia – Understood.org
How To Solve Letter Reversals – All About Reading
The Ultimate Teacher's Guide to Letter and Number Reversals – Make, Take, Teach
Visual Perception Activities – OT Mom Learning Activities

Heather Greutman, COTA
Heather Greutman is a Certified Occupational Therapy Assistant with experience in school-based OT services for preschool through high school. She uses her background to share child development tips, tools, and strategies for parents, educators, and therapists. She is the author of many ebooks including The Basics of Fine Motor Skills, and Basics of Pre-Writing Skills, and co-author of Sensory Processing Explained: A Handbook for Parents and Educators.
