DIY Autumn Leaf Confetti: Fall Activity for Kids
Affiliate and Referral links are used below to promote products I love and recommend. I receive a commission on any purchases made through these links. Please see my disclosure policy for more details. As an Amazon Associate, I earn from qualifying purchases.
In one of my recent articles on fun autumn/fall-themed bilateral coordination activities for kids, I mentioned making leaf confetti. This is an excellent activity for many skills that we will discuss here in a minute. Plus, it's a wonderful way to recycle leaves into some fun crafts or to use as biodegradable confetti.

Autumn/Fall Leaf Confetti Items
You will need the following items:
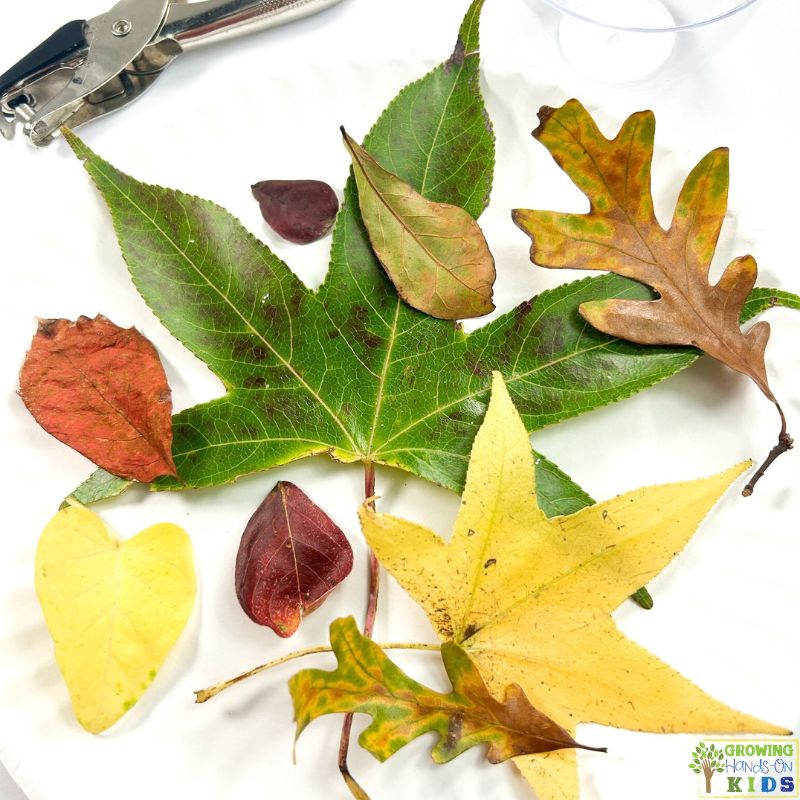
- Variety of fall leaves
- Hole punch
- Paper plate
- Small bowl
DIRECTIONS:
Go out on a nature walk and collect a variety of fall leaves.
Fresh leaves will work best, but you don't want them to be wet either. Let them dry enough so that they are easy to press the hole punch through without cracking or crumbling on you.
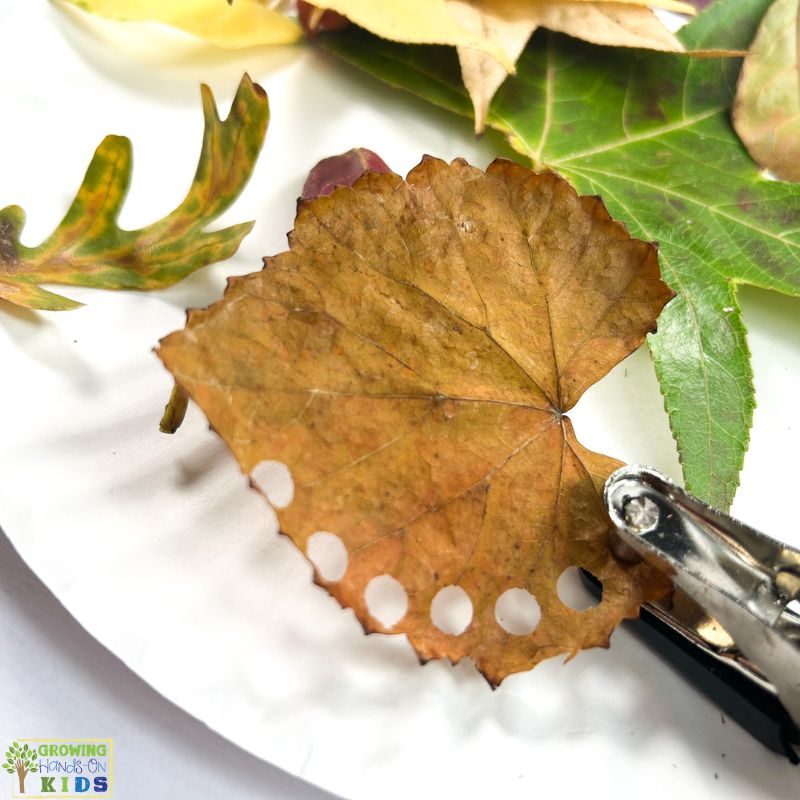
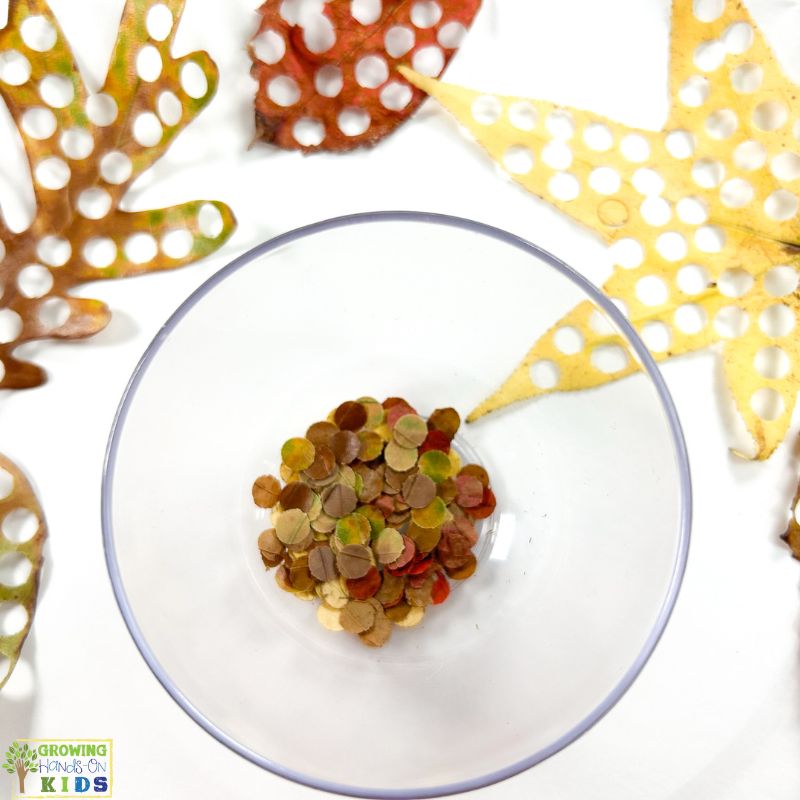
Use the hole punch to punch holes into the leaves. Empty the hole punch into the small bowl. You’ll want to empty the hole punch regularly so that it doesn’t get too full or jammed up.


Continue punching holes in leaves until you get the desired amount of confetti.
Leaf Confetti can be used for a variety of crafts and activities during the fall and autumn seasons.
How do you dry leaf confetti?
You can dry your confetti in a variety of ways. First, place them inside a jar and place a small silica gel pack inside the jar with the leaf confetti to help them dry out.
Alternatively, you can let them sit out on a cookie sheet or inside a brown paper bag until they are dry.
You can also put them in a fridge to help retain some of the color of the leaves for a longer time.
Hole punch suggestions:
- 1/4 inch single-hole punch with soft-grip handles
- 10 set hole punch shapes
- 1/4 inch start and heart shape single hole punch with soft handles
Skills addressed while making fall leaf confetti
Bilateral coordination: the ability to use both hands in coordinated movements to complete a task.
Hand grasp strength: grasping and squeezing the hole punch will help with hand strength needed for grasping objects for everyday life skills.
Pincer grasp: depending on the type of hole punch you use, you can also work on pinch strength, which is using the index and thumb fingers together to pinch. This is needed for pencil grasp and other everyday life skills such as buttoning, opening containers, etc. Picking up the confetti and putting it into a container with your fingers would also help practice this skill.
Activities to create with autumn leaf confetti
1 || Sensory bin base
Use the leaf confetti as a fun seasonal sensory bin base! Add scoops, teaspoons, tablespoons, containers, and other fun sensory bin fillers to encourage exploration and sensory play.
2 || Autumn/fall collage
You can use the leaf confetti to make a fun seasonal collage for an arts and crafts project in your classroom.
3 || Sensory bottle filler
Use the leaf confetti as a sensory bottle filler. This is especially fun if your leaves are a variety of colors or shapes from different types of hole punch shapes.
4 || Greeting cards
Use the fall leaf confetti to decorate seasonal greeting cards for Thanksgiving or Halloween. You can use glue, adhesive tape, or Mod Podge to help your confetti stick to your paper.
5 || Fall leaf bookmarks
Make unique bookmarks by laminating the leaf confetti between two sheets of clear adhesive paper.
6 || Leaf confetti place cards
Make personalized place cards for your fall gatherings by attaching leaf confetti to small cards for each guest.
7 || Mix with slime
Use your leaf confetti to mix together with some fall-themed slime.
Most of all, have fun!
DIY Autumn Leaf Confetti
Materials
- Variety of fall leaves
- Hole punch
- Paper plate
- Small bowl
Instructions
- Go out on a nature walk and collect a variety of fall leaves. Fresh leaves will work best, but you don't want them to be wet either. Let them dry enough so that they are easy to press the hole punch through without cracking or crumbling on you.
- Use the hole punch to punch holes into the leaves.
- Empty the hole punch into the small bowl. You’ll want to empty the hole punch regularly so that it doesn’t get too full or jammed up.
- Continue punching holes in leaves until you get the desired amount of confetti.
- You can dry your confetti in a variety of ways. First, place them inside a jar and place a small silica gel pack inside the jar with the leaf confetti to help them dry out.
- Alternatively, you can let them sit out on a cookie sheet or inside a brown paper bag until they are dry.
- You can also put them in a fridge to help retain some of the color of the leaves for a longer time.
You May Also Like:


Heather Greutman, COTA
Heather Greutman is a Certified Occupational Therapy Assistant with experience in school-based OT services for preschool through high school. She uses her background to share child development tips, tools, and strategies for parents, educators, and therapists. She is the author of many ebooks, including The Basics of Fine Motor Skills, The Basics of Pre-Writing Skills, and co-author of Sensory Processing Explained: A Handbook for Parents and Educators.