How To Fix Poor Letter Formation In Handwriting: A User-Friendly Guide
Affiliate and Referral links are used below to promote products I love and recommend. I receive a commission on any purchases made through these links. Please see my disclosure policy for more details. As an Amazon Associate, I earn from qualifying purchases.
Next to pencil grasp, poor letter formation concerns are probably one of the most common questions I get from readers. Letter formation can affect legibility and writing speed. If you have a child or student struggling with poor letter formations, it is important to address this. Let’s take a look at how to fix poor letter formations in handwriting.
Table of contents
Why Should I Teach Proper Letter Formation?
Learning proper letter formations from the beginning can help set your child and student up for future success in handwriting.
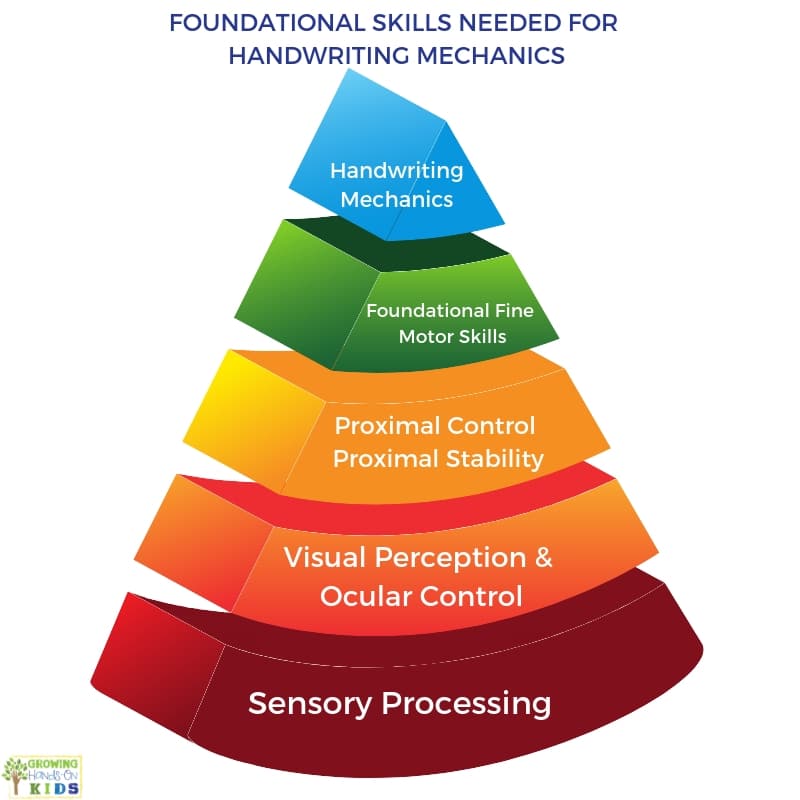
In order for children to be able to write letters efficiently and correctly, there are some building block skills that will help them master this important part of handwriting.
These skills include:
- Pencil control
- Motor planning
- Visual-motor integration (including visual perception, motor control, and eye-hand coordination)
When a child begins to master letter formation with routine practice, this builds motor memory pathways. Once motor memory and letter formation become routine, a child does not need to be constantly remembering how to form a letter, it becomes a habit.
For emerging writers, this means they can focus on other parts of writing such as spelling, punctuation, putting their thoughts into written form, etc.
Not building these motor memory skills with letter formation can lead to children struggling with handwriting speed, and legibility, and affects their reading skills with letter recognition.
Why Should We Fix Poor Letter Formations in Handwriting?
For children who are beginning writers, it is typical that they will struggle with letter formation at times. Kindergarten through 2nd grade is when we would expect children to still be learning and continuing to master letter formations.
Poor letter formation after 2nd grade can be a red flag that a child needs extra support with handwriting skills.
Poor letter formations could mean the child is struggling with motor planning, executive function skills, visual-motor integration, or other fine motor skills or gross motor concerns. The pencil grip could also be a concern.
You will also want to make sure a child has mastered pre-writing lines, shapes, and strokes before introducing letter formations. If a child continues to struggle with forming letters appropriately, go back and look at their pre-writing lines and shapes to see if those have been mastered.
It's always a good idea to check with your child's teacher to see how their handwriting is compared to same-aged peers and/or to ask for an Occupational Therapy evaluation if your child continues to struggle.
Occupational Therapists will look at underlying reasons as to why your child may be struggling with letter formation, which could include fine motor, gross motor, visual-motor, pencil grasp, sensory processing challenges, and more.
How to Fix Poor Letter Formations in Handwriting
There are 5 specific strategies I will be sharing today. This certainly does not mean these are the only ways to address poor letter formations.
You can find more ways to address poor letter formations in The Handwriting Book, written by 10 pediatric Occupational and Physical Therapists (including myself!).
Let’s go on to the 5 strategies I am sharing today for fixing poor letter formations in handwriting.
1 || USE ADAPTIVE PAPER
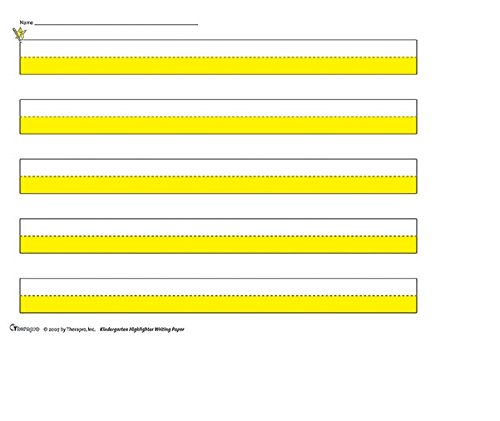
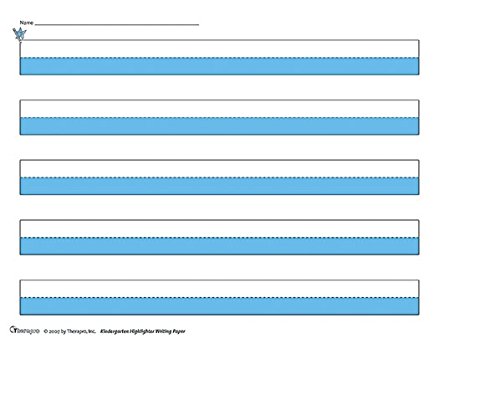
Using adaptive paper can give a child added visual cues for where to start and stop letters. All letters should start at the top of the paper, so I like to use green for “go”, and red for “stop” type paper. You can also use a red or green highlighter or marker.
Sky/Ground paper is also successful for many kids. You can use a blue highlighter for the sky and brown for the ground.
Here is a post from my friend Colleen at The OT Toolbox about Sky-Ground Writing Paper.
Here are a few more options for an adaptive paper that can be helpful.
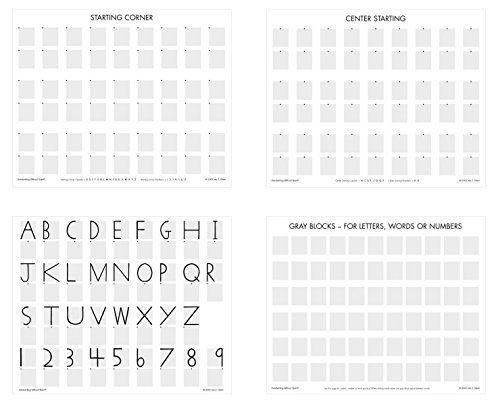
Kindergarten Highlighter Writing Paper -Yellow (125 Sheets)Kindergarten Story Highlighter Writing Paper- Blue (50 Sheets)Handwriting Without Tears Block Paper – 8 1/2 x 11 inches – Set of 105 Sheets – Gray

2 || USE A HANDWRITING PROGRAM
There are quite a few handwriting programs out there. Many are familiar with Learning Without Tears (formerly Handwriting Without Tears). I like certain parts of their program, including the music CDs for letter formations and the “wet, dry, try method”. I know many OTs who use this program and have found great success with it.
Some other options also include:
- Loops and Other Groups (specifically for cursive)
- Let’s Do It Write, by Gail Kushnir, Occupational Therapist
- First Strokes Multi-Sensory Handwriting Program
- Callirobics (handwriting exercises and music)
- Writing Made Simple
- Size Matters Handwriting Program – this was suggested by a reader and was also developed by an Occupational Therapist
3 || TAPE LETTER FORMATION MODELS TO DESKS
I like this option better than taping one large model on the classroom wall or at home. It keeps the reference nearby for each student or child and eliminates a step for children to have to look up in another direction while writing.
You can create your own models on a strip of paper, or find some online like below.
Alphabet Strips on Teachers Pay Teachers
Manuscript Alphabet Desk Tape on Amazon
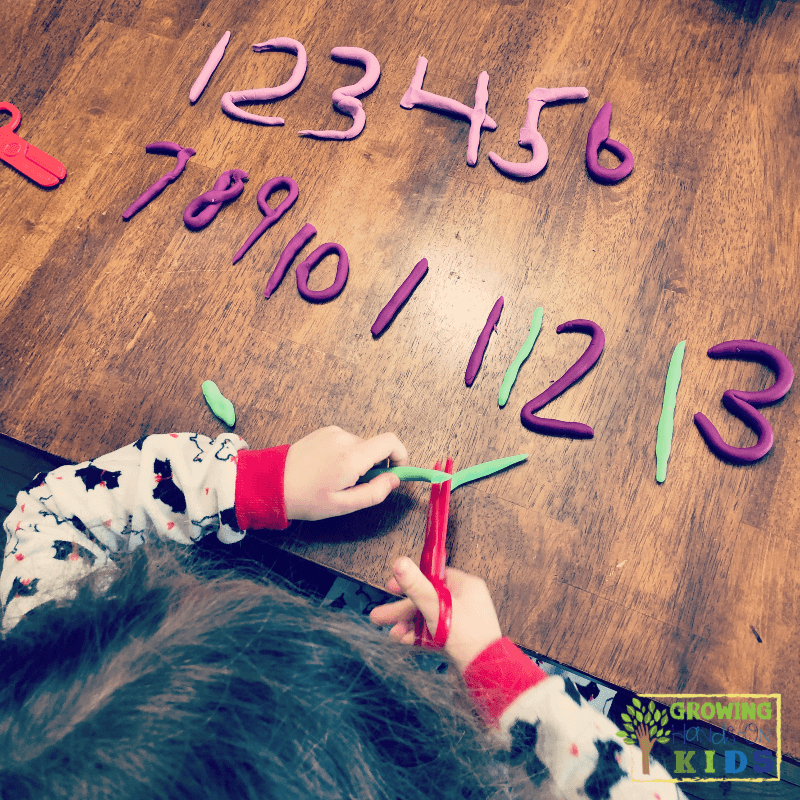
4 || PRACTICE ACCURATE MULTI-SENSORY FORMATIONS
This is a great way to work on letter formations in ways that will be fun for the child and not just with a pencil or paper.
You can set up stations for this or do it together as a group or individually.
This picture below is of numbers, but you can do the same concept with letters (and pre-writing lines and shapes too!).
Some ways to practice multi-sensory formations include:
- Use a “magic wand” in the air (you can have the child use their finger or use fun colored popsicle sticks.
- Fill a plastic sandwich bag with colors glue, paint, or hair gel and have the child use their finger to press against the bag to write their letters.
- Use play dough to form letters
- Use Wikki Stix to form letters
- Make tin foil rolls to form letters.
- Use a chalkboard (double points if it is on a vertical surface!)
- Use a Magna-Doodle
- Dry-erase board with markers
- Fill a cookie sheet with a thin layer of sand or colored salt (I like doing this with the finger or holding a paintbrush. The addition of the paintbrush helps to work on pencil grasp)
- Trace sandpaper letters with their finger
5 || TRACE OVER MODELS WITH TRACING PAPER
You can get tracing paper from your local office supply store or on Amazon. Then place the models under the tracing paper and have your child use a pencil or marker to write directly on top of the models.
Letter Formation Starter Kit
In this brand-new resource, I give you digital download resources that help you teach letter formations in fun and easy ways.
If you've struggled with:
- Knowing how to address letter formation struggles with your child or student
- Aren't sure what wording to use when describing how to write letters
- Need extra visual prompts for teaching letter formations
- Need multi-sensory ideas for teaching letter formations
…then the Letter Formation Starter Kit is for you.
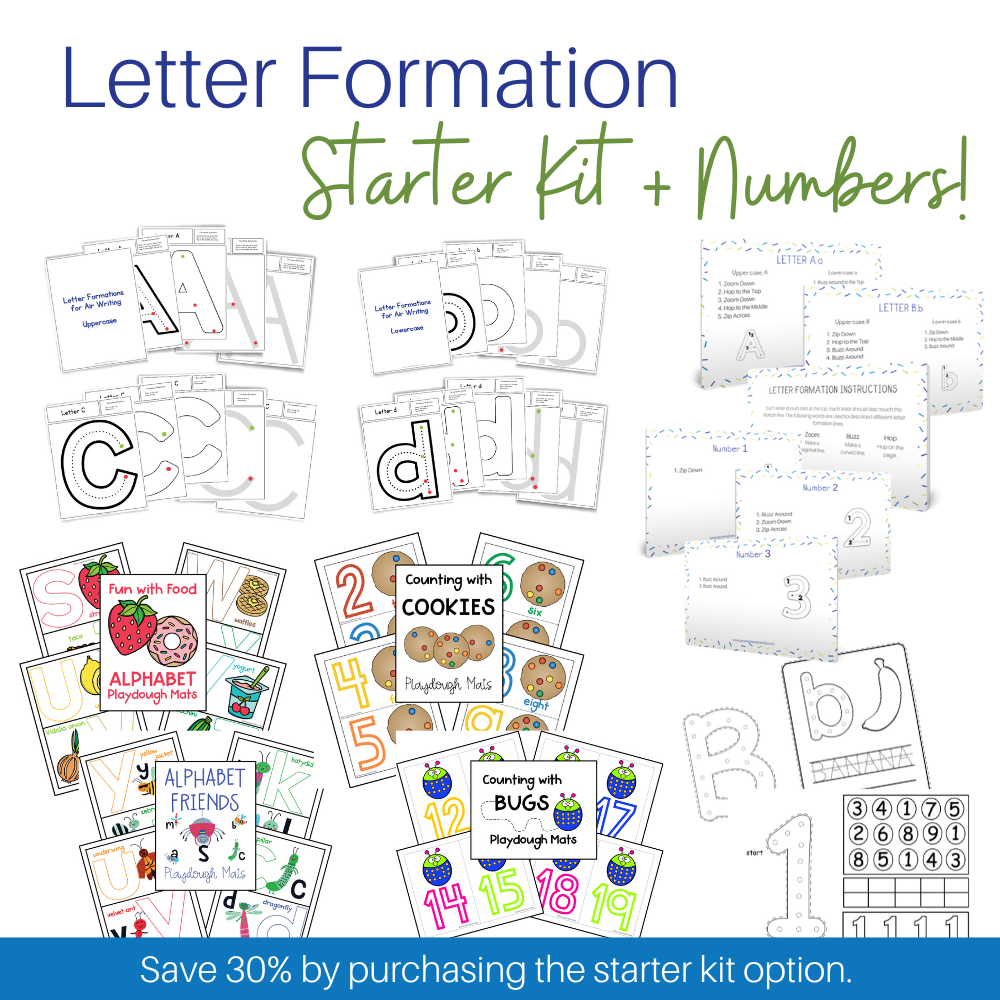
It includes:
- Letter Formations for Air Writing – Uppercase (Brand new resource!)
- Letter Formations for Air Writing – Lowercase (Brand new resource!)
- Letter Formation Direction Cards – Uppercase & Lowercase
- Alphabet Play Dough Mats – Uppercase & Lowercase
- Alphabet Lacing Cards – Uppercase & Lowercase
In both the Letter Formations for Air Writing and Letter Formations Direction Cards, I use fun words like zip, zoom, buzz, and hop to help describe how each letter should be formed. This wording comes from the Fundanoodle writing program, which was designed by a team of Occupational Therapists and educators to help children learn how to write.
When children learn the same specific wording for how to form letters, not only are they getting visual feedback from the prompts and movement with each worksheet, they are getting auditory feedback to help with the motor memory they need for proper letter formations.
And it wouldn't be a multi-sensory experience without all the additional ways I give for how to use the worksheets WITHOUT a pen or pencil.
You May Also Like:

Heather Greutman, COTA
Heather Greutman is a Certified Occupational Therapy Assistant with experience in school-based OT services for preschool through high school. She uses her background to share child development tips, tools, and strategies for parents, educators, and therapists. She is the author of many ebooks, including The Basics of Fine Motor Skills, The Basics of Pre-Writing Skills, and co-author of Sensory Processing Explained: A Handbook for Parents and Educators.