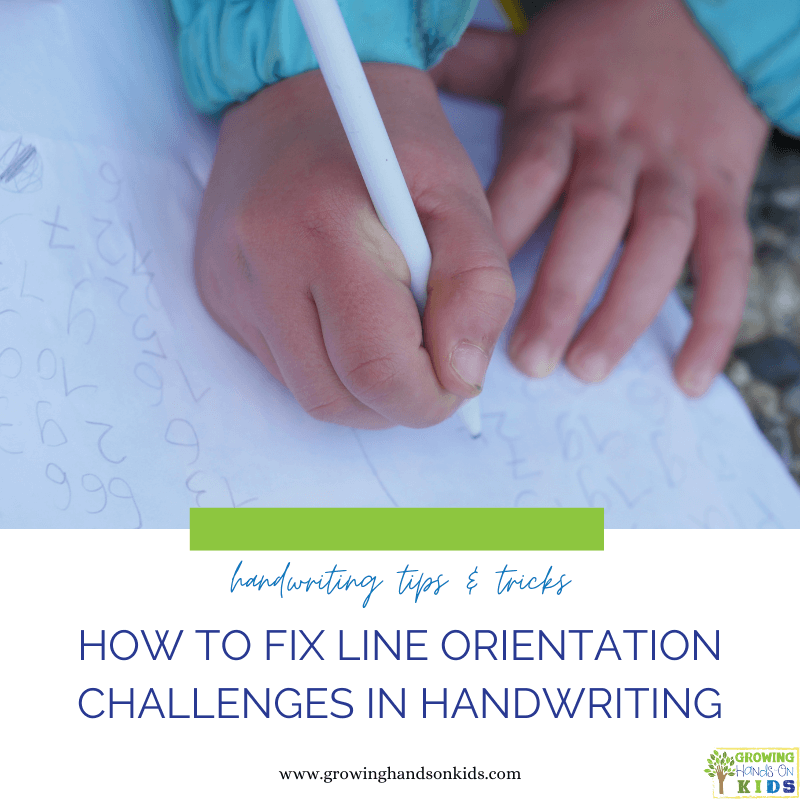
How to Fix Line Orientation Challenges in Handwriting
Affiliate and Referral links are used below to promote products I love and recommend. I receive a commission on any purchases made through these links. Please see my disclosure policy for more details. As an Amazon Associate, I earn from qualifying purchases.
A common challenge that you might see in handwriting is the difficulty in keeping letters on the line. This is often referred to as line orientation in Occupational Therapy. Today, we're going to take a look at typical development for line orientation in handwriting and some activities you can do if your child is struggling with this skill.
What is Alignment in Handwriting?
Alignment in handwriting refers to the ability to keep letters lined up properly in the writing space. This means starting letters in a left-to-right direction and starting at the very left of the page (in English). It also means keeping letters straight on the line with no floating letters above the line or going in a diagonal direction on the page.
What does Orientation Mean in Handwriting?
Orientation refers to the child's ability to keep letters and numbers facing the right direction. This means letters and numbers always begin at the top and in a left-to-right direction (in English). Orientation challenges can affect the child's legibility in handwriting.
What is Line Placement in Handwriting?
Line placement means that the letters on placed correctly on the writing line. The child is able to differentiate between writing uppercase and lowercase letters and where those letters should start on a line such as top-line vs middle line if using 3-lined paper. Or being able to place letters towards the middle between 2 lined-paper as well as which letters should go below the writing line.
When Should Children Write On Lines?
When a child enters Kindergarten, they should be formally introduced to writing on a line (age 5-6). This is an emerging skill that will be mastered as they get older and have more experience with handwriting.
Between the ages of 6 and 7 is when most children are expected to be able to write on the line with good orientation and placement within the writing space.
The key to mastery of different handwriting skills is constant exposure and practice.
What is Poor Alignment in Handwriting?
Poor alignment means that a child is struggling to keep their letters on the writing line. Their letters may be hovering above the line, some letters might be on the line and others might be below the line when they shouldn't be. You also might notice that they do not start on the left side of the writing page, but start halfway across the page or more toward the middle.
Difficulty with line orientation and alignment can affect the child's handwriting legibility.
As a side note, handwriting challenges and difficulties can also be a sign of Dysgraphia. Dysgraphia is difficulty with expressing thoughts in writing and can affect the spelling, grammar, punctuation, holding the pencil, proper spacing of words or sentences, etc. Dysgraphia prevalence is unknown, but it is estimated to be between 10% to 30% of children (source: U.S. News – What is Dysgraphia?).
If you suspect your child may be struggling with handwriting, talk to their teacher or physician and ask for an Occupational Therapy evaluation.
Line Awareness Activities
What can you do if your child or student is struggling with line awareness? Here are some strategies you can try.
1 || Highlight the Writing Lines
One of the simplest tips is to get a variety of colored highlighters and highlight the writing line. You can use green for the top and red for the bottom, which most kids associate with green for the start and red for the stop.
I've also used yellow to highlight the bottom portion below the middle line if a child is having difficulty with where to put lowercase letters.
You will also want to review where uppercase and lowercase letters should start on the writing lines with 2-ruled and 3-ruled lined paper.
2 || Use Adaptive Paper
There are a variety of adaptive papers that you can use to help give visual cues to children for line orientation. One of my favorites is the sky, grass, ground paper, and the raised ruled paper. I also used Hi-Write beginner paper, which has a yellow highlighted area at the bottom of the writing line. You can also easily do this with a yellow highlighter.
Here are links to various adaptive papers:
- Sky, grass, dirt paper on Teachers Pay Teachers
- Multi-Sensory Raised Ruled Writing Tablet – Amazon
- Hi-Write Beginners Paper – Amazon
- Quick & Neat Writing Pad (block writing spaces) – Amazon
- Smart Start K-1 Writing Paper – Amazon
3 || Focus on Visual-Motor Activities
Difficulty with line orientation can often mean a child struggles with visual-motor skills such as eye-hand coordination, visual perception, visual scanning, and more.
For more visual motor tips and activities, visit these links below:
- Typical Visual-Motor Development in Children
- What is Visual Perception
- Eye-Hand Coordination Activities
4 || Teach Top, Middle, Bottom Concepts
It's important to make sure that children understand directional concepts such as top, middle, and bottom.
This website has some online games to teach, top, bottom, middle, left, right, and over under.
Position Math Games – Math Kite
Positional Words and 14 Games to to Teach Them – Early Impact Learning
How to Teach Top, Middle, and Bottom to a Child – We Have Kids
5 || Use Wikki Stix to Highlight Bottom Writing Lines
Wikki Stix is a great tool to give some tactile feedback for the bottom of the writing line. You can press them along the bottom writing line to give a visual and tactile cue to stop when writing.
6 || Use Glitter Glue to Highlight Lines
This can be done ahead of time by your child so they can get the added benefit of squeezing the glue bottle for added hand strengthening.
You'll need to let the glue dry overnight however before using the writing paper.
7 || Provide a Visual Checklist to Keep Letters on the Line
Provide a checklist with visuals to help remind your student or child to keep their letters on the writing line. After they have finished their writing, ask them to look at their work and circle or highlight any letters that need to be put back on the line or maybe a letter needs to go below the line. Have examples on the checklist so they can see what to look for in their writing.
You can see an example of a checklist here:
- Letter Placement Checklist – Fun Strokes
Share Your Ideas!
Do you have any favorite ways to help with line orientation? Share your idea in the comments below.
You May Also Like:

Heather Greutman, COTA
Heather Greutman is a Certified Occupational Therapy Assistant with experience in school-based OT services for preschool through high school. She uses her background to share child development tips, tools, and strategies for parents, educators, and therapists. She is the author of many ebooks, including The Basics of Fine Motor Skills, The Basics of Pre-Writing Skills, and co-author of Sensory Processing Explained: A Handbook for Parents and Educators.
good ideas for parents to help the kid who is having trouble with handwriting skills. One additional comment is the need for the young student to have a kid-size table and chair, or a “youth” desk. It’s a lot easier to write correctly if you are seated comfortably and at the right angle.