
Fine Motor and Visual Perception Activity Using Craft Sticks
Affiliate and Referral links are used below to promote products I love and recommend. I receive a commission on any purchases made through these links. Please see my disclosure policy for more details. As an Amazon Associate, I earn from qualifying purchases.
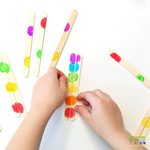
This is a simple, hands-on activity that helps kids practice fine motor skills, color matching, and visual perception. These Paint Dot Matching Sticks are easy to make with just two supplies and can be used in occupational therapy sessions, preschool classrooms, or at home.
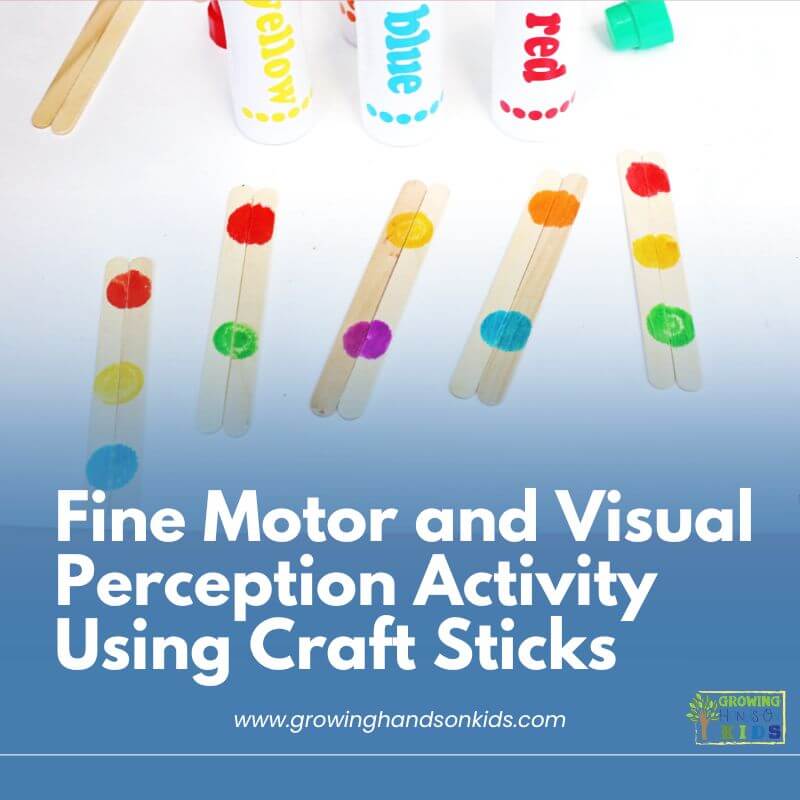
Paint Dot Matching Sticks Directions
Supplies
Instructions
- Place two craft sticks side by side so they are touching.
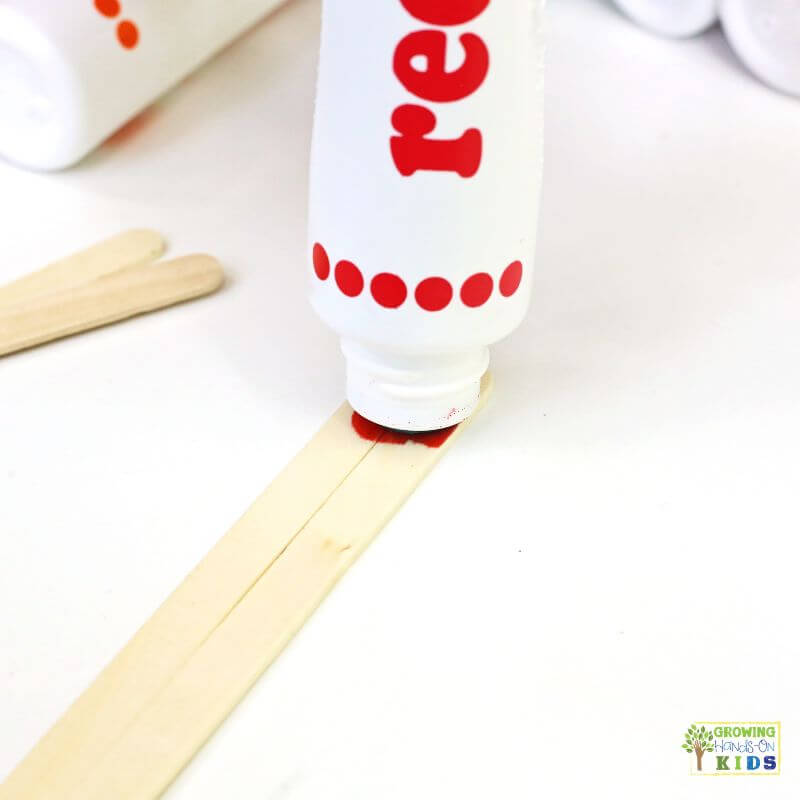
- Use a paint dot marker to make a circle across both sticks, creating a matching dot that connects the two sticks.
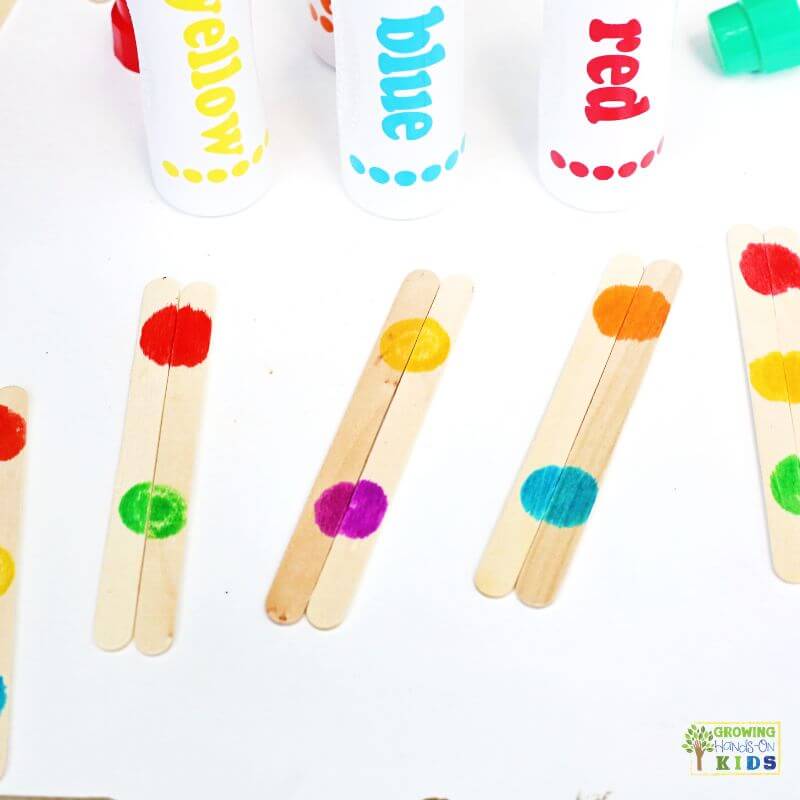
- Continue adding multiple dots down the sticks, using different colors and varying the placement.
- Separate the sticks.
- Invite children to find the matching sticks by lining up the colored circles.
- Encourage children to look at each dot carefully and match the colors and positions to complete each pair.
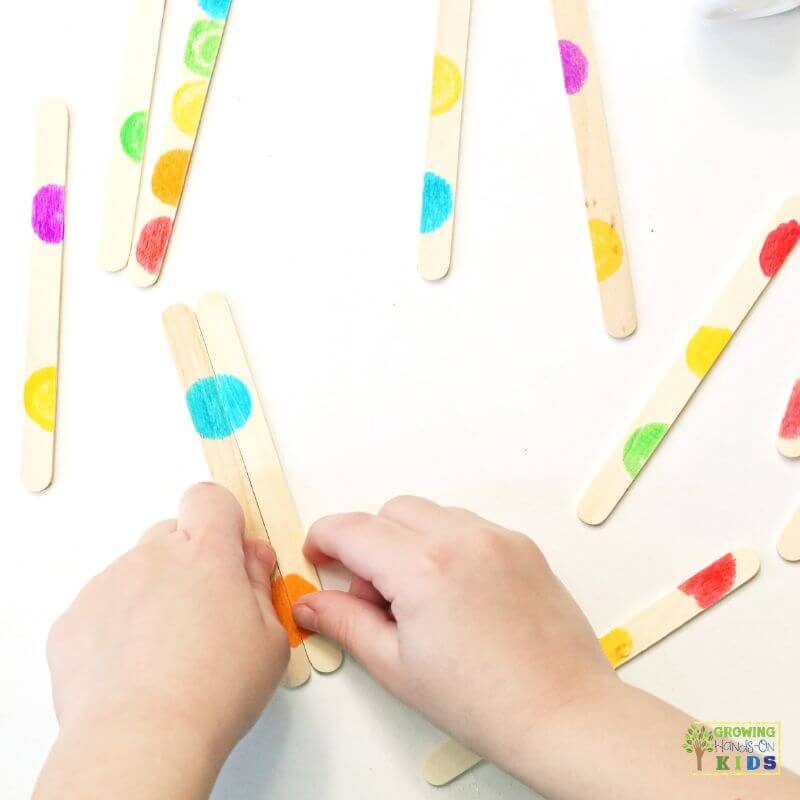
Benefits of Paint Dot Matching Sticks
This simple activity supports several important developmental skills children need for everyday activities, classroom learning, and play.
- Color recognition: Helps children identify and name colors.
- Matching skills: Builds early sorting and classification skills.
- Visual discrimination: Encourages children to notice colors, patterns, and differences.
- Fine motor skills: Picking up and arranging the sticks gives children opportunities to practice finger coordination and grasping.
- Visual-motor integration: Encourages children to coordinate what they see with their hand movements as they line up the matching sticks.
- Cognitive development: Supports memory, comparison, and problem-solving.
- Focus and concentration: Encourages children to carefully observe each stick.
- Early math skills: Introduces pairs, patterns, sequencing, and grouping.
- Spatial awareness: Helps children recognize how the position and orientation of objects affect whether they fit together.
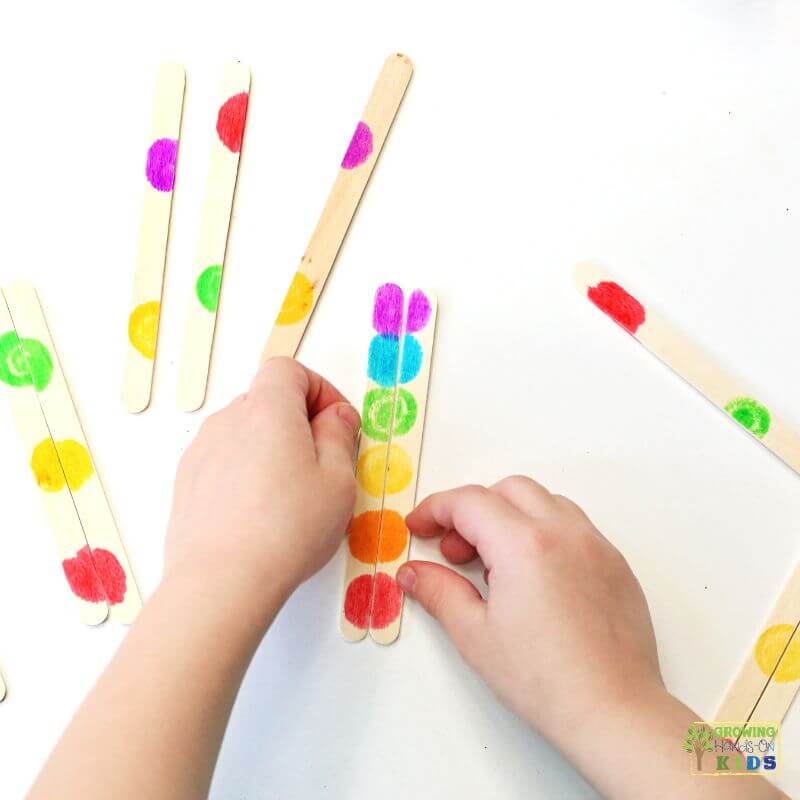
Ways to Use Paint Dot Matching Sticks in Occupational Therapy
Paint Dot Matching Sticks are a great addition to your occupational therapy activity collection because they are inexpensive, easy to prepare, and adaptable to different skill levels.
Here are a few ways to use them during therapy sessions:
- Visual perception practice: Mix several pairs of sticks and encourage children to find the matching halves. Increase the challenge by using similar colors or patterns.
- Fine motor coordination: Have children pick up and manipulate the sticks using their fingertips. Encourage them to rotate and reposition the sticks until the dots line up correctly.
- Crossing midline: Place the matching sticks on opposite sides of the child’s workspace and encourage them to reach across their body to find and connect the pairs.
- Bilateral coordination: Encourage children to hold one stick steady with one hand while positioning the matching stick with the other.
- Visual scanning: Spread the sticks across the table and have children search for specific colors or patterns.
- Following directions: Give simple instructions such as, “Find the stick with two blue dots and one red dot,” or “Match the green dots first.”
You can also incorporate this activity into a fine motor obstacle course or use it as a quick warm-up before handwriting activities.
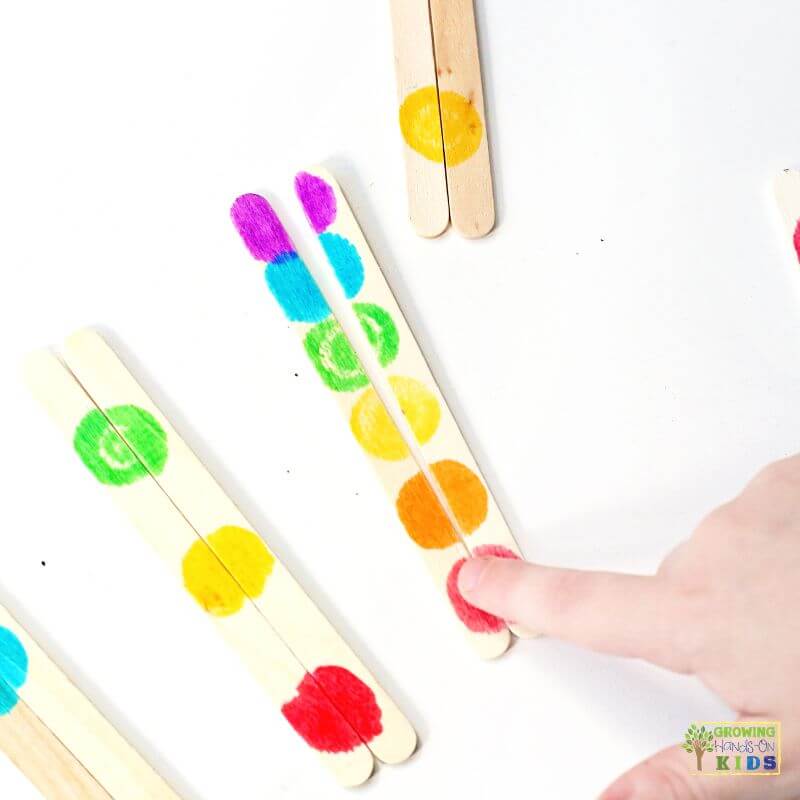
Ways to Use Paint Dot Matching Sticks at Home
Parents can easily make this activity using supplies they may already have at home. Once the sticks are prepared, store them in a small container or zippered bag for a quick, screen-free activity.
Try these ideas:
- Matching game: Spread the sticks across the table and let your child find all the matching pairs.
- Timed challenge: See how many pairs your child can match in one minute. Keep it fun and focus on improving their own score rather than competing.
- Memory game: Place a few sticks face down and have your child turn them over to find matching halves.
- Color hunt: Ask your child to find sticks containing a particular color before matching them.
- Make your own: Let your child help create new matching sticks using the paint dot markers. This adds another opportunity to practice hand-eye coordination and creativity.
This is also a great activity to keep in a busy bag for quiet play at home or while traveling.
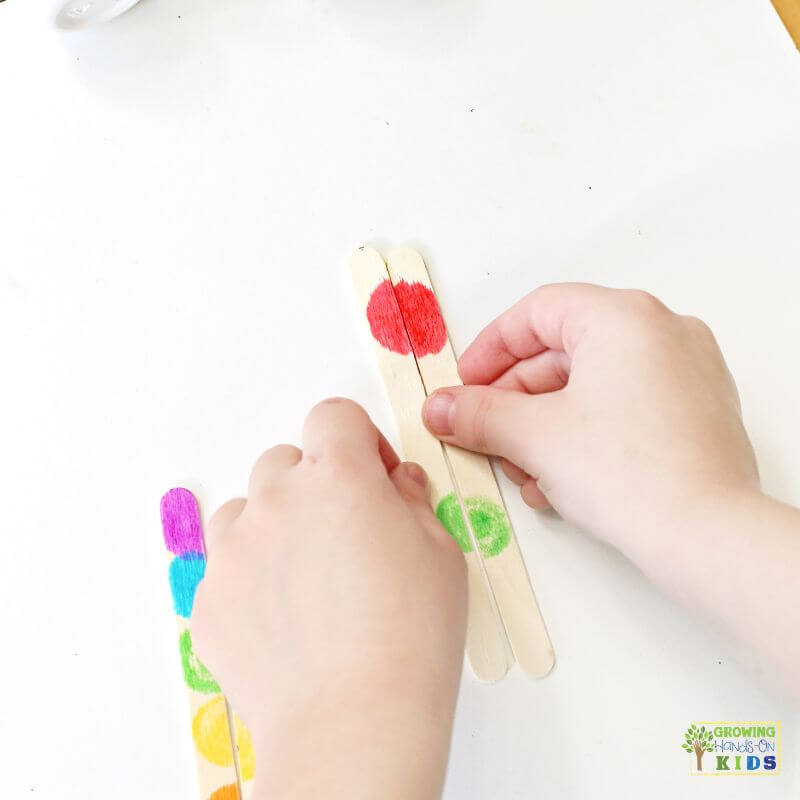
Ways to Use Paint Dot Matching Sticks in the Classroom
Teachers can use Paint Dot Matching Sticks as a simple learning center activity for preschool, pre-K, and kindergarten students.
Here are a few ways to incorporate them into your classroom:
- Fine motor center: Place the matching sticks in a small tray or basket and invite students to work independently.
- Partner activity: Give each student a few sticks and encourage them to work together to find the matching halves.
- Color sorting: Before matching, have students sort the sticks by the colors they see.
- Pattern recognition: Create sticks with repeating color patterns and encourage children to identify the patterns as they match.
- Counting practice: Have students count the dots on each completed pair or count how many pairs they matched.
- Morning work: Use the sticks as a quick hands-on activity when students arrive in the classroom.
- Small group instruction: Give each child a different set of sticks and encourage them to explain how they found their matches.
For classroom use, consider creating several sets with different levels of difficulty. This allows students to practice at their own pace while building confidence with matching and visual perception skills.
Make It Easier or More Challenging
One of the best things about this activity is how easily you can change it to meet the needs of different learners.
| Make It Easier | Make It Harder |
|---|---|
| Start with 2–3 pairs | Use 8–10 or more pairs |
| Use one or two colors per pair | Use several colors per pair |
| Make each pair’s pattern very different | Create similar-looking patterns |
| Keep the sticks facing the same direction | Mix up the direction of the sticks |
| Provide a completed example | Have children match without a model |
| Spread sticks out neatly | Mix sticks in a larger group |
For children who need additional support, model how to compare the colors and positions of the dots before asking them to complete the activity independently.
Paint Dot Matching Sticks are a simple way to turn everyday craft supplies into a fun learning activity. Whether you’re working on fine motor skills in occupational therapy, setting up a preschool learning center, or looking for an easy activity at home, these matching sticks offer plenty of opportunities for hands-on learning.
Paint Dot Matching Sticks Tutorial
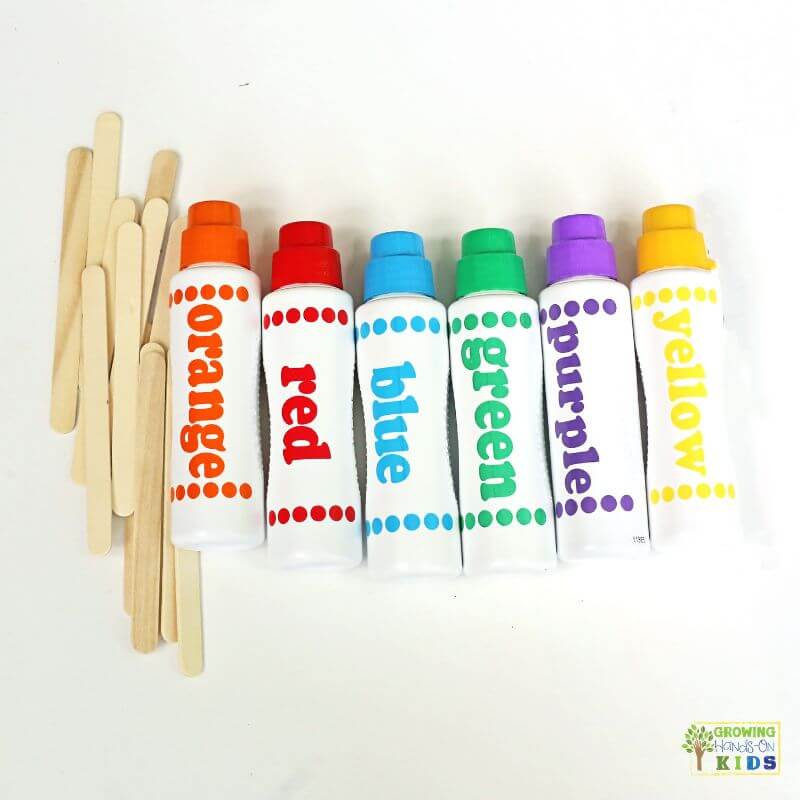
Materials
- Jumbo Craft sticks
- Paint dot markers
Instructions
- Place two craft sticks side by side so they are touching.
- Use a paint dot marker to make a circle across both sticks, creating a matching dot that connects the two sticks.
- Continue adding multiple dots down the sticks, using different colors and varying the placement.
- Separate the sticks.
- Invite children to find the matching sticks by lining up the colored circles.
- Encourage children to look at each dot carefully and match the colors and positions to complete each pair.

Heather Greutman, COTA
Heather Greutman is a Certified Occupational Therapy Assistant with experience in school-based OT services for preschool through high school. She uses her background to share child development tips, tools, and strategies for parents, educators, and therapists. She is the author of many ebooks, including The Basics of Fine Motor Skills, The Basics of Pre-Writing Skills, and co-author of Sensory Processing Explained: A Handbook for Parents and Educators.